Note: several of the how to guides were written for a specific Jolly product, but the concepts and techniques discussed in each guide typically apply to other Jolly products.
Rules can be set up to only allow printing a badge if certain conditions are met. Additionally, rules can be set up to allow check-in/check-out when certain conditions are met, to deny check-in/check-out when certain conditions are met, or both.
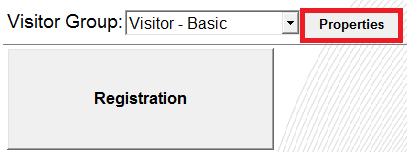
Using an administrator account, open the software and select the ‘Properties’ button:
Print Rules
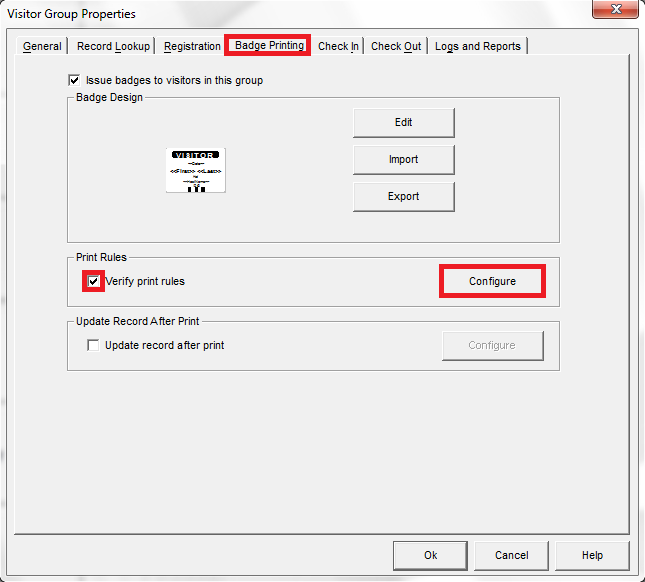
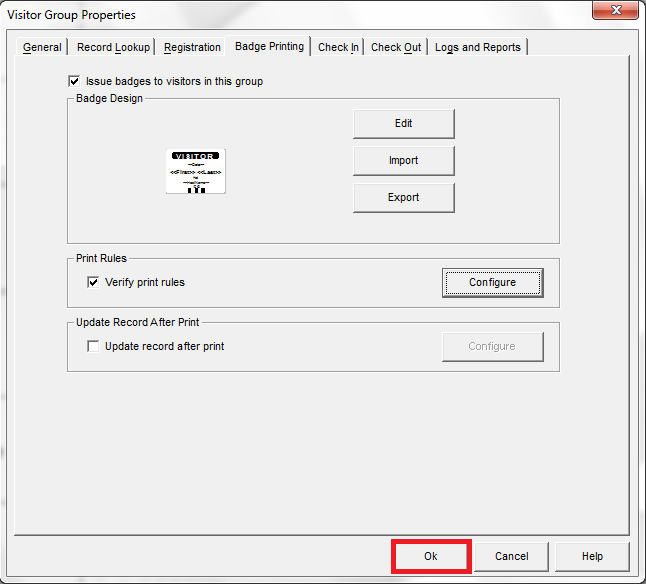
- Select the ‘Badge Printing’ tab, select the ‘Verify print rules’ checkbox, and select the ‘Configure’ button:
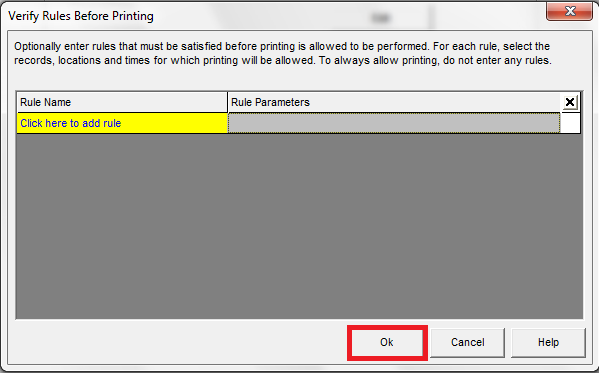
- See the ‘Creating a Rule’ section for details regarding making a custom rule.
- Select the ‘Ok’ button:
- Select the ‘Ok’ button to save the changes:
Check-In/Check-Out Rules
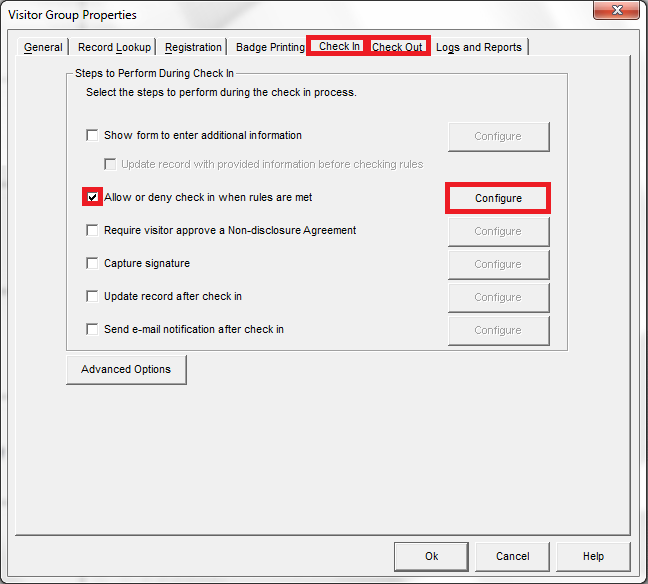
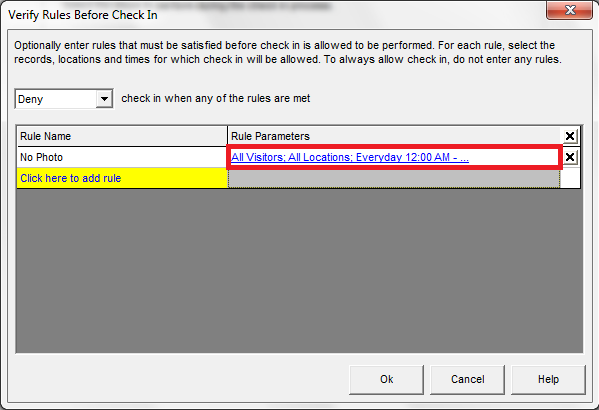
- Select the ‘Check In’ or the ‘Check Out’ tab, select the ‘Allow or deny check in/out when rules are met’ checkbox, and select the ‘Configure’ button:
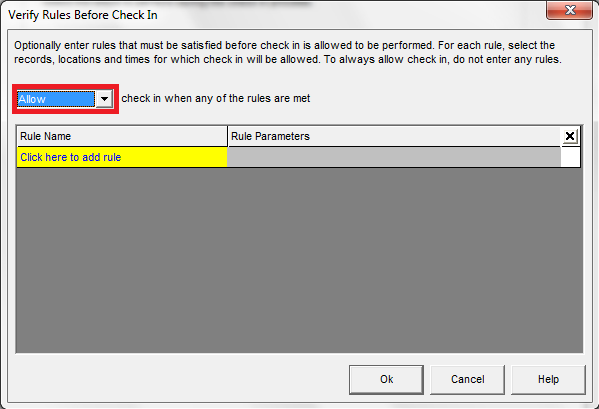
- See the ‘Creating a Rule’ section for details regarding making a custom rule. Select if you would like to allow or deny the check in/out based on the rule(s) created:
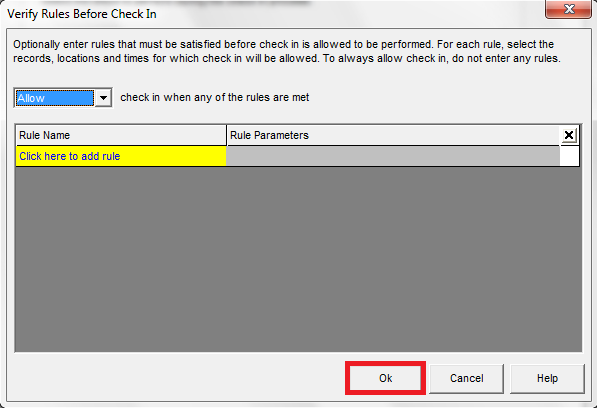
- Select the ‘Ok’ button:
- Select the ‘Ok’ button to save the changes:

Creating a Rule
- Select the ‘Click here to add rule’ textbox and set a name for the rule:
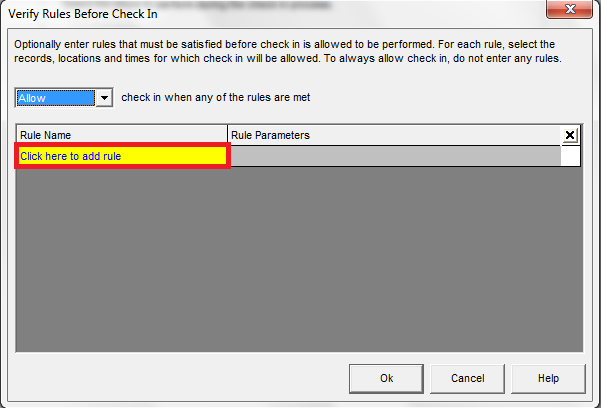
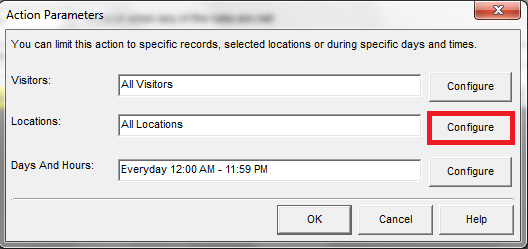
- Select the ‘Rule Parameters’ textbox:
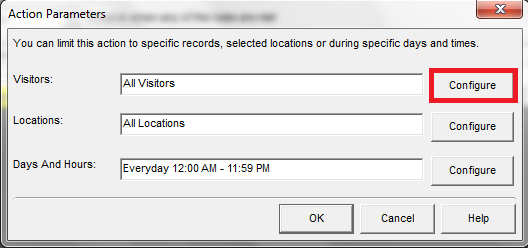
Visitors
- Select the ‘Configure’ button for the ‘Visitors’ field:
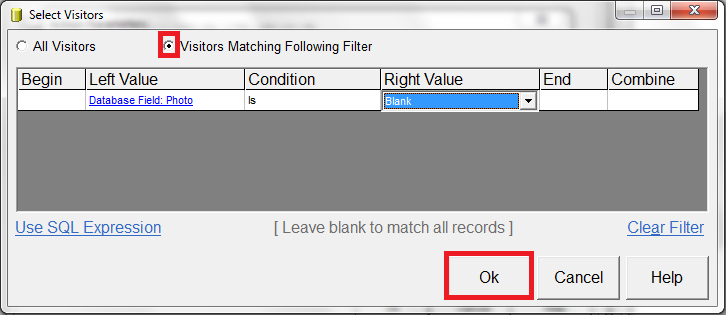
- Select the ‘Visitors Matching Following Filter’ option and build a rule. Very complex rules can be built using the fields here. For brevity, we have created a simple rule here. Select the ‘Ok’ button:
Locations
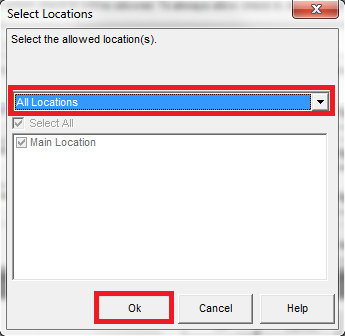
- Select the ‘Configure’ button for the ‘Locations’ field:
- Set the locations to which the rule applies as appropriate. Select the ‘Ok’ button:
Times
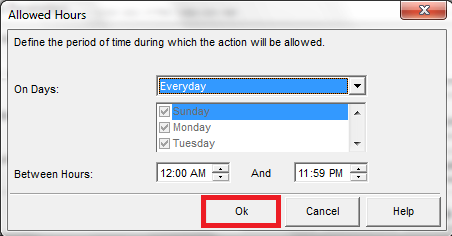
- Select the ‘Configure’ button for the ‘Days And Hours’ field:

- Select the times for which the rule applies as appropriate. Select the ‘Ok’ button: