Note: several of the how to guides were written for a specific Jolly product, but the concepts and techniques discussed in each guide typically apply to other Jolly products.
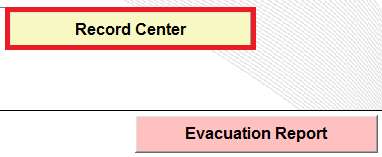
- Using an administrator account, open the software and select the ‘Record Center’ button:
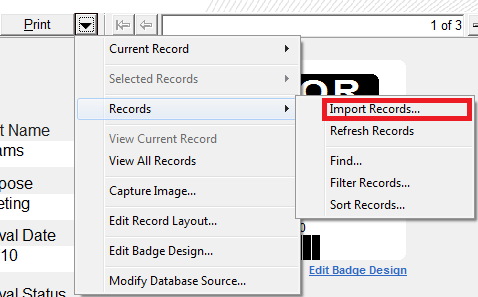
- Select the dropdown arrow near the ‘Print’ button and select the ‘Records’ > ‘Import Records ’ option:
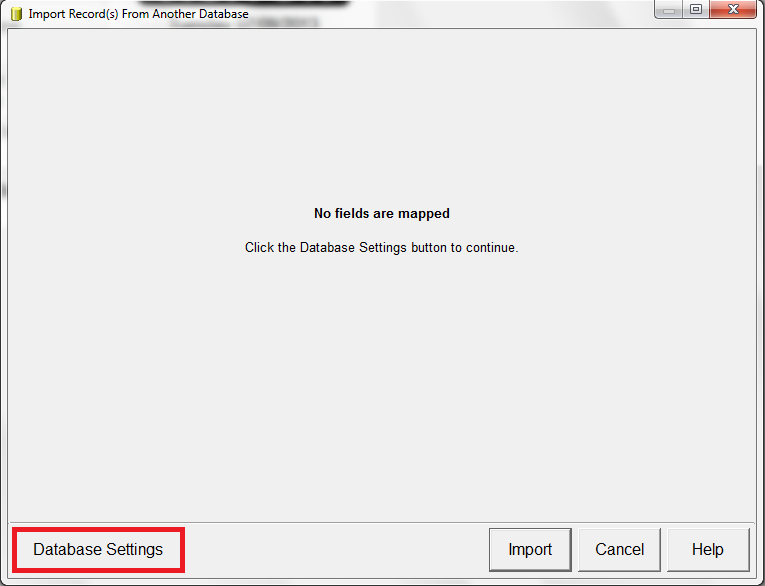
- Select the ‘Database Settings’ button:
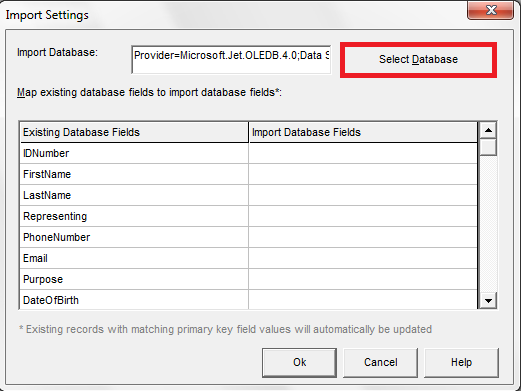
- Select the ‘Select Database’ button:
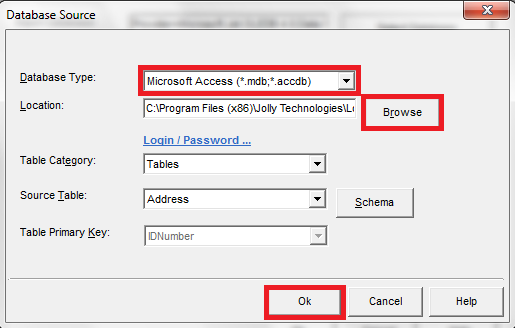
- Select the type of database to import from using the ‘Database Type’ dropdown menu (here we are importing from a Microsoft Access database file). Browse to find the database as appropriate and set any appropriate settings to connect to your original database. Select the ‘Ok’ button:
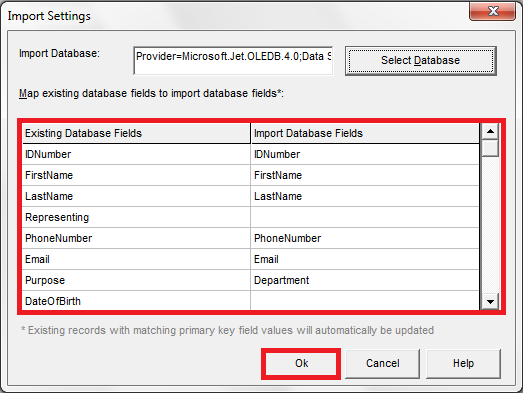
- The software will attempt to automatically map fields but these can be changed by you. Select the ‘Ok’ button:
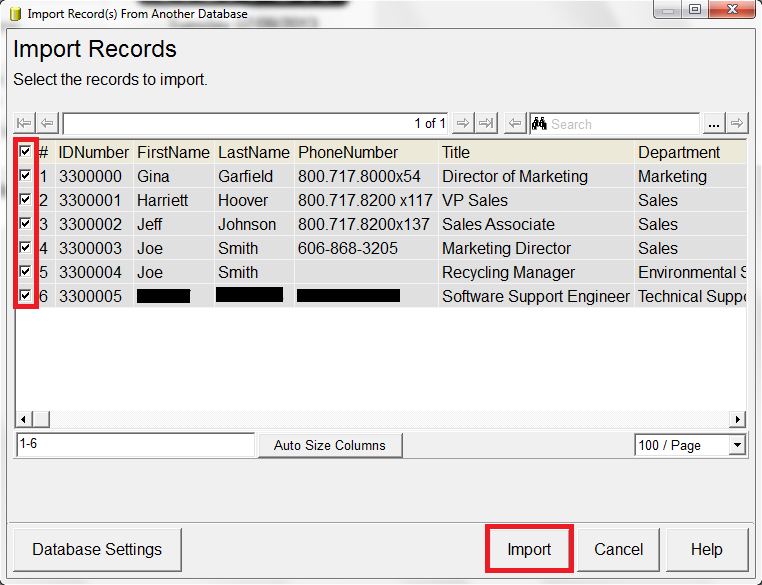
- Select the records that you want to import. Select the ‘Import’ button:
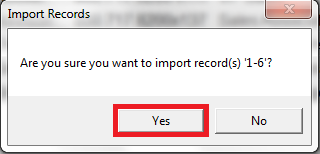
- Select the ‘Yes’ button:
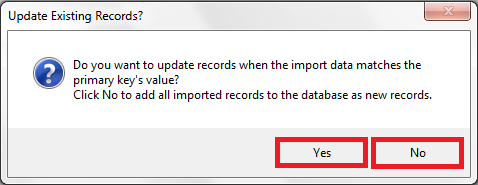
- Select the ‘Yes’ button if you want to overwrite existing records with a matching ID number. If you are unsure, it is often better to select the ‘No’ button:
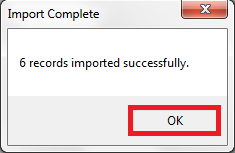
- Select the ‘Ok’ button: