
Note: several of the how to guides were written for a specific Jolly product, but the concepts and techniques discussed in each guide typically apply to other Jolly products.
View Badge Printing Properties
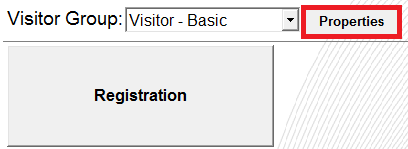
- Using an administrator account, open the software and select the ‘Properties’ button:
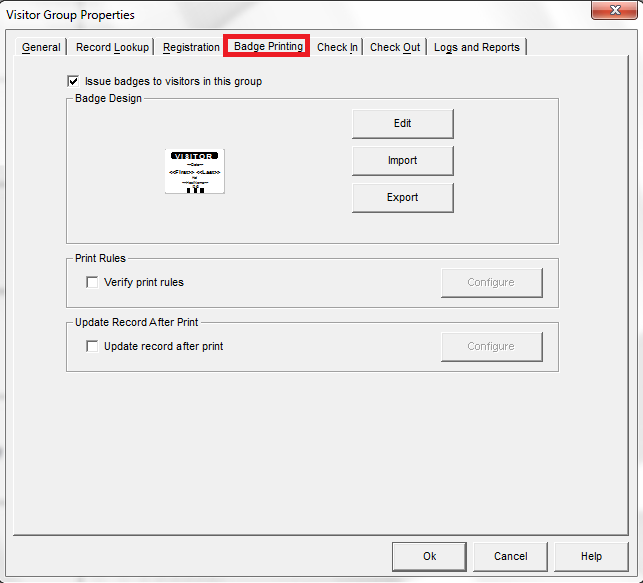
- Select the ‘Badge Printing’ tab:
Edit the Badge Design
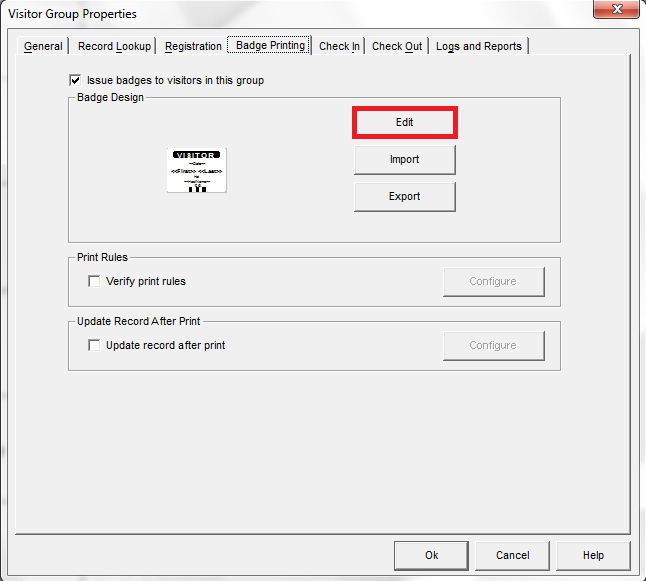
- Select the ‘Edit’ button:
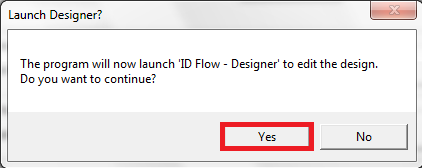
- Select the ‘Yes’ button:
- Edit the badge design from the designer. See the full getting started guide for details on using the designer.
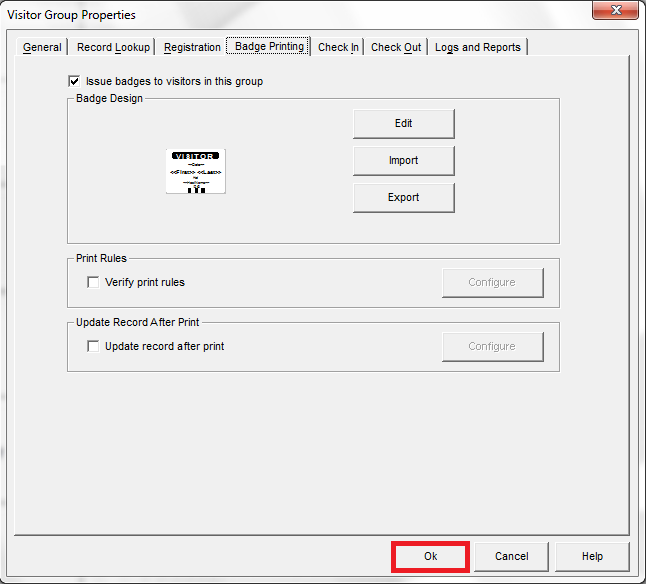
- Select the ‘Ok’ button to save the changes:
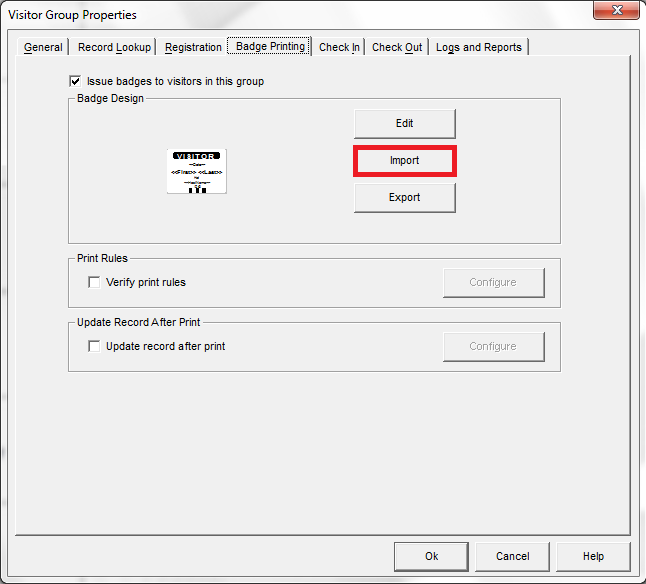
Import a Badge Design
- Select the ‘Import’ button and open the badge design file. Note that this will overwrite the current badge design.
- Select the ‘Ok’ button to save the changes:
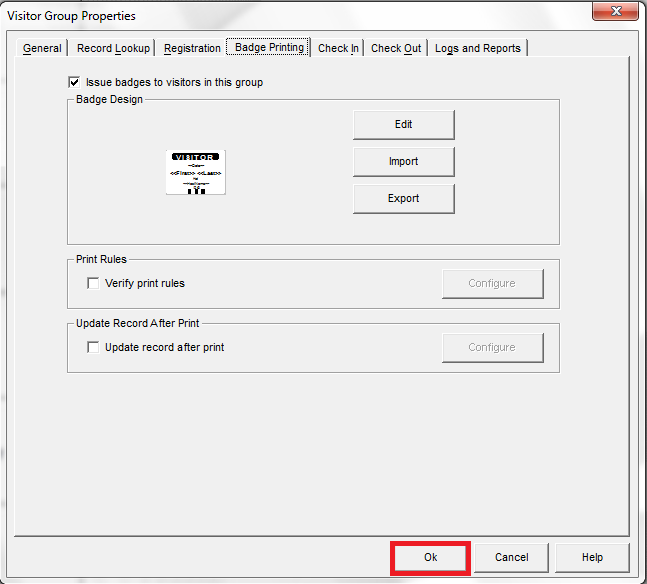
Export a Badge Design
Select the ‘Export’ button and save the badge design file:
![]()