Open the Layout Editor
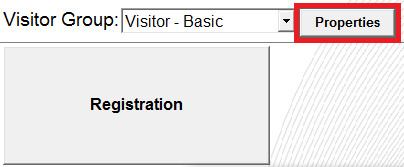
- Open the group properties by selecting the ‘Properties’ button next to the group drop-down menu:
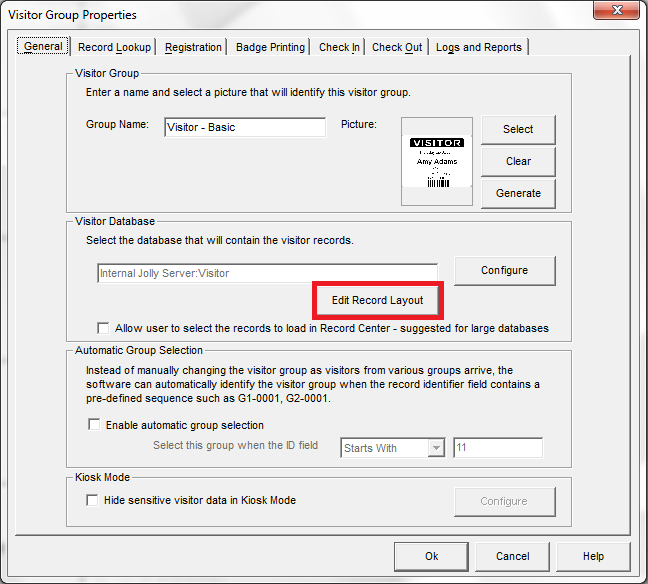
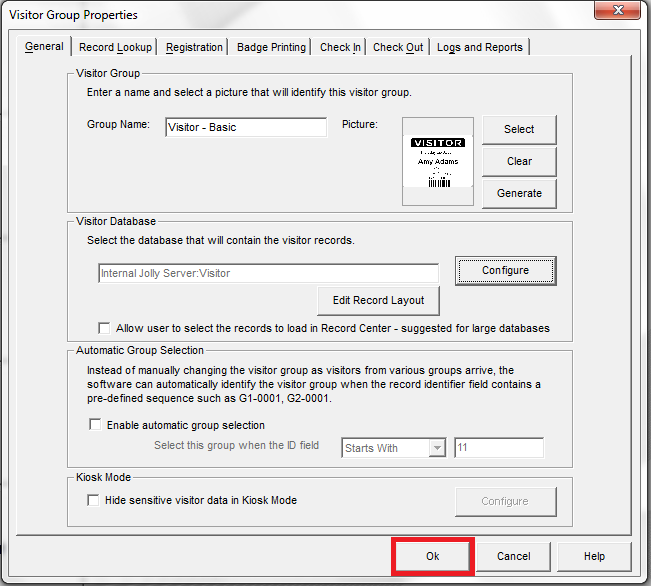
- Select the ‘Edit Record Layout’ button:
Reposition and Resize Fields
Fields can be repositioned by simply selecting the field and then dragging it to the desired location. Fields can also be resized by selecting the field and then dragging one of the boxes displayed on the sides and corners of the field. There are also several toolbar buttons to assist with creating a consistent layout. The subsections listed here will show their uses.
Vertical Alignment
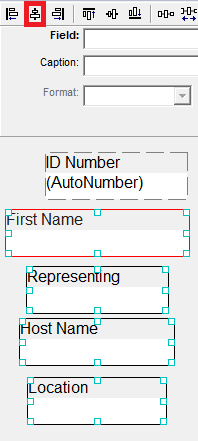
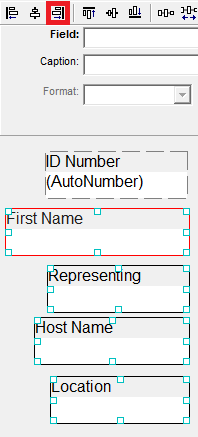
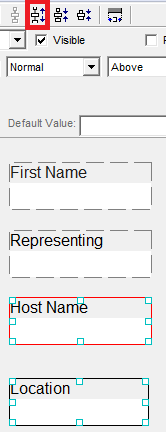
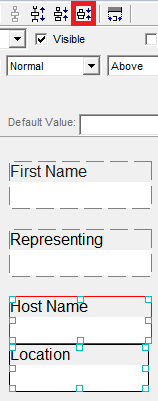
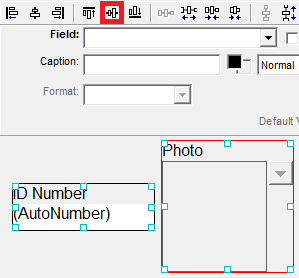
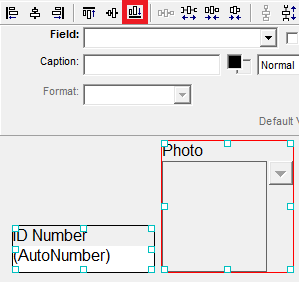
There are three toolbar buttons to assist with aligning multiple fields vertically. To use them, first select multiple boxes by holding the Ctrl key and selecting each field or by drawing a selection box around the desired fields. Boxes on the fields will indicate which have been selected:
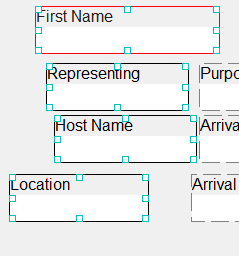
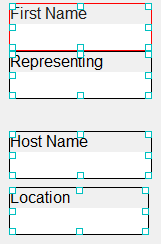
Next, select the desired alignment. The images below demonstrate each alignment option:

Vertical Spacing
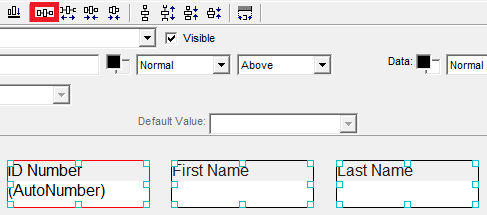
There are four toolbar buttons to assist with spacing multiple fields vertically. To use them, first select multiple boxes by holding the Ctrl key and selecting each field or by drawing a selection box around the desired fields. Boxes on the fields will indicate which have been selected:
Next, select the desired spacing option. The images below demonstrate each spacing option:

Horizontal Alignment
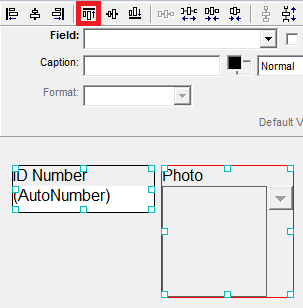
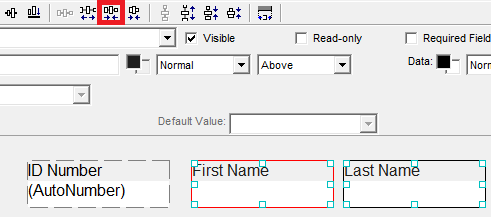
There are three toolbar buttons to assist with aligning multiple fields horizontally. To use them, first select multiple boxes by holding the Ctrl key and selecting each field or by drawing a selection box around the desired fields. Boxes on the fields will indicate which have been selected:
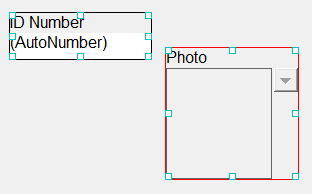
Next, select the desired alignment. The images below demonstrate each alignment option:
Horizontal Spacing
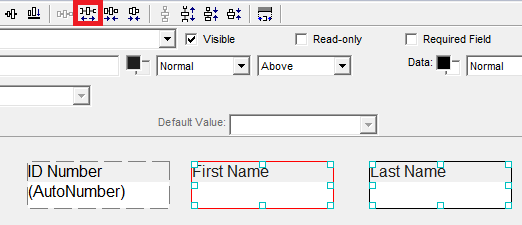
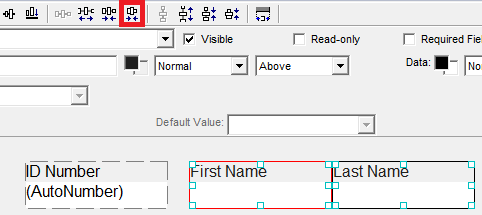
There are four toolbar buttons to assist with spacing multiple fields horizontally. To use them, first select multiple boxes by holding the Ctrl key and selecting each field or by drawing a selection box around the desired fields. Boxes on the fields will indicate which have been selected:

Next, select the desired spacing option. The images below demonstrate each spacing option:
Horizontal Width
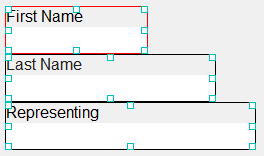
There is a single toolbar button to assist with adjusting the size of fields. This button makes all of the selected fields the same width. To use this option, first select multiple boxes by holding the Ctrl key and selecting each field or by drawing a selection box around the desired fields. Boxes on the fields will indicate which have been selected:
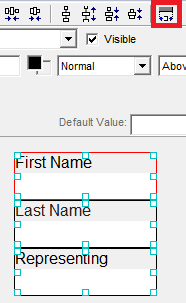
Next, select the ‘Make the Same Width’ option:
Modify a Field
The fields can be modified to change how they look, how big or small they are, and how they behave during registration. Each option will be demonstrated in the following subsections.
Changing Looks
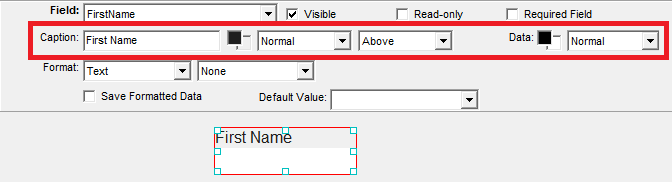
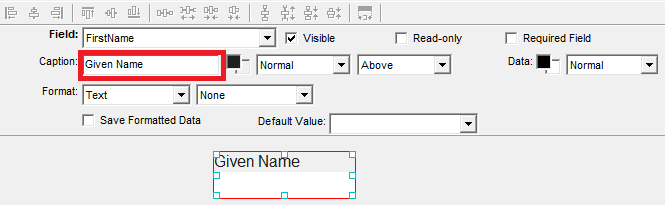
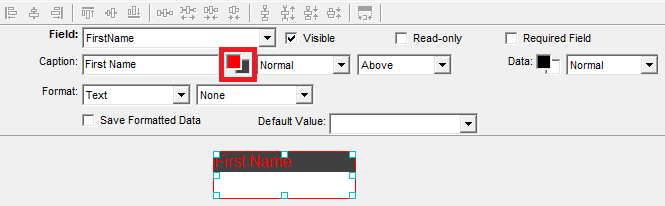
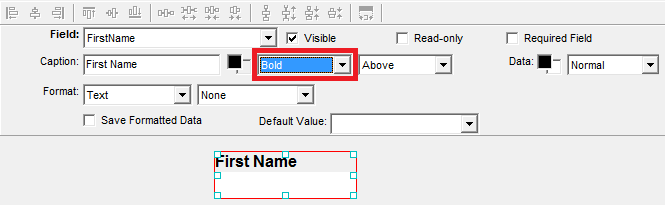
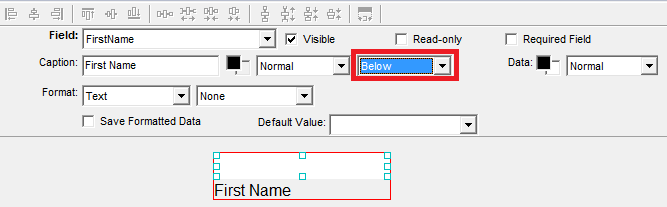
Caption
Data
The options for modifying the data portion of the field are similar to the options for the caption portion. The options are not demonstrated here as the changes are not noticeable without data in the field.
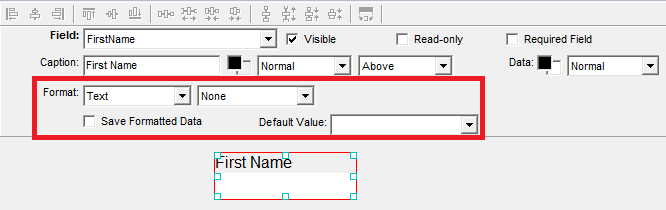
Changing Behavior
The behavior of the field can be altered to format data according to certain types such as Date/Time, Boolean (True/False/Yes/No), and others. Additionally, the field can be set to default to a chosen value and you can control whether the formatting is saved in the database or if formatting will only be change how the text is displayed during registration. These options will not be demonstrated as changes are not noticeable without data in the field.
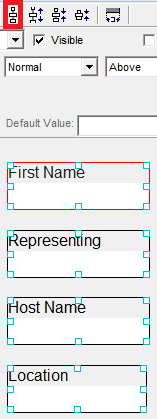
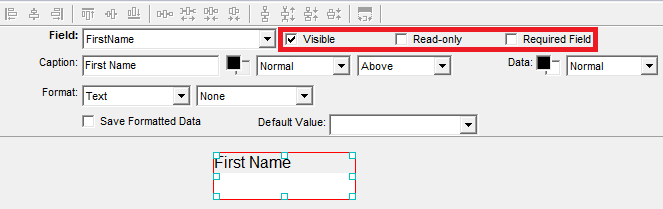
Special Attributes
There are three attributes that affect the registration process most directly. These attributes control whether or not the field can be seen, whether or not it can be changed, and whether or not it must be filled in order to complete registration. These options will not be demonstrated as the changes are not noticeable outside registration.
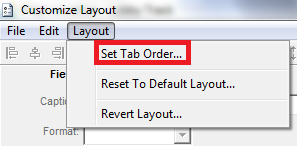
Change the Tab Order
- Select the ‘Layout’ menu:

- Select ‘Set Tab Order ’ menu option:
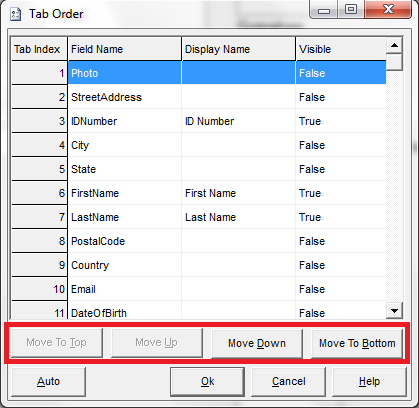
- Use the ‘Move ’ buttons as needed or see the subsection below for using the ‘Auto’ button:
Auto Tab
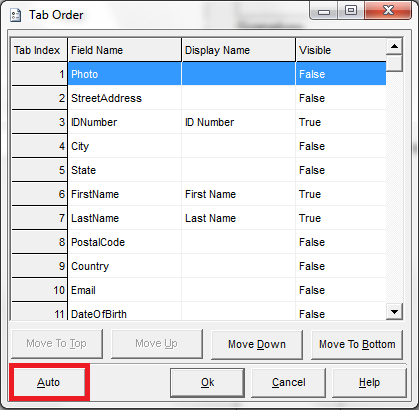
- Select the ‘Auto’ button:
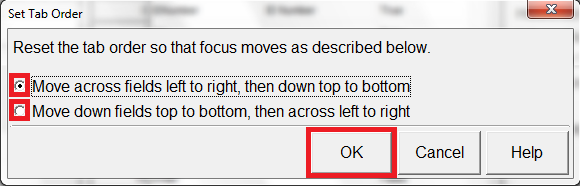
- Choose the option most appropriate for your preferences and select the ‘Ok’ button:
- Select the ‘Ok’ button:
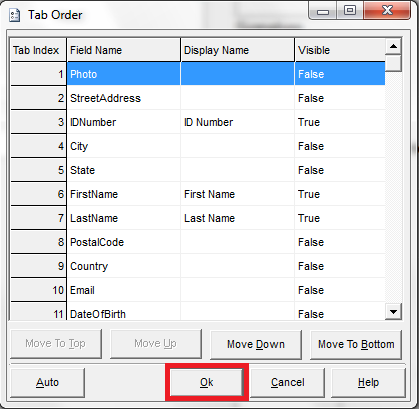
- Select the ‘Ok’ button:

- Select the ‘Ok’ button to save the changes:
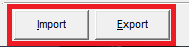
Import/Export a Record Layout
Record layouts can be imported and exported as a means to save time and to ensure that undesired changes can be reverted easily. These use a standard Windows open/save dialog box and can be found at the bottom-left corner of the screen: